Member Groups
A member group is a named list of members, such as a class, a team or the deacons. You use groups to filter the Member Directory, to choose who a Calendar event is for, and to send messages to the right people.
Where: In the menu, click Church Membership, then Member Groups.
Who can use this: You need View or Edit access to Member Groups, set in Role Management. View access lets you see the groups and who is in them. Edit access adds the Create New Group button and the pencil and trash icons.
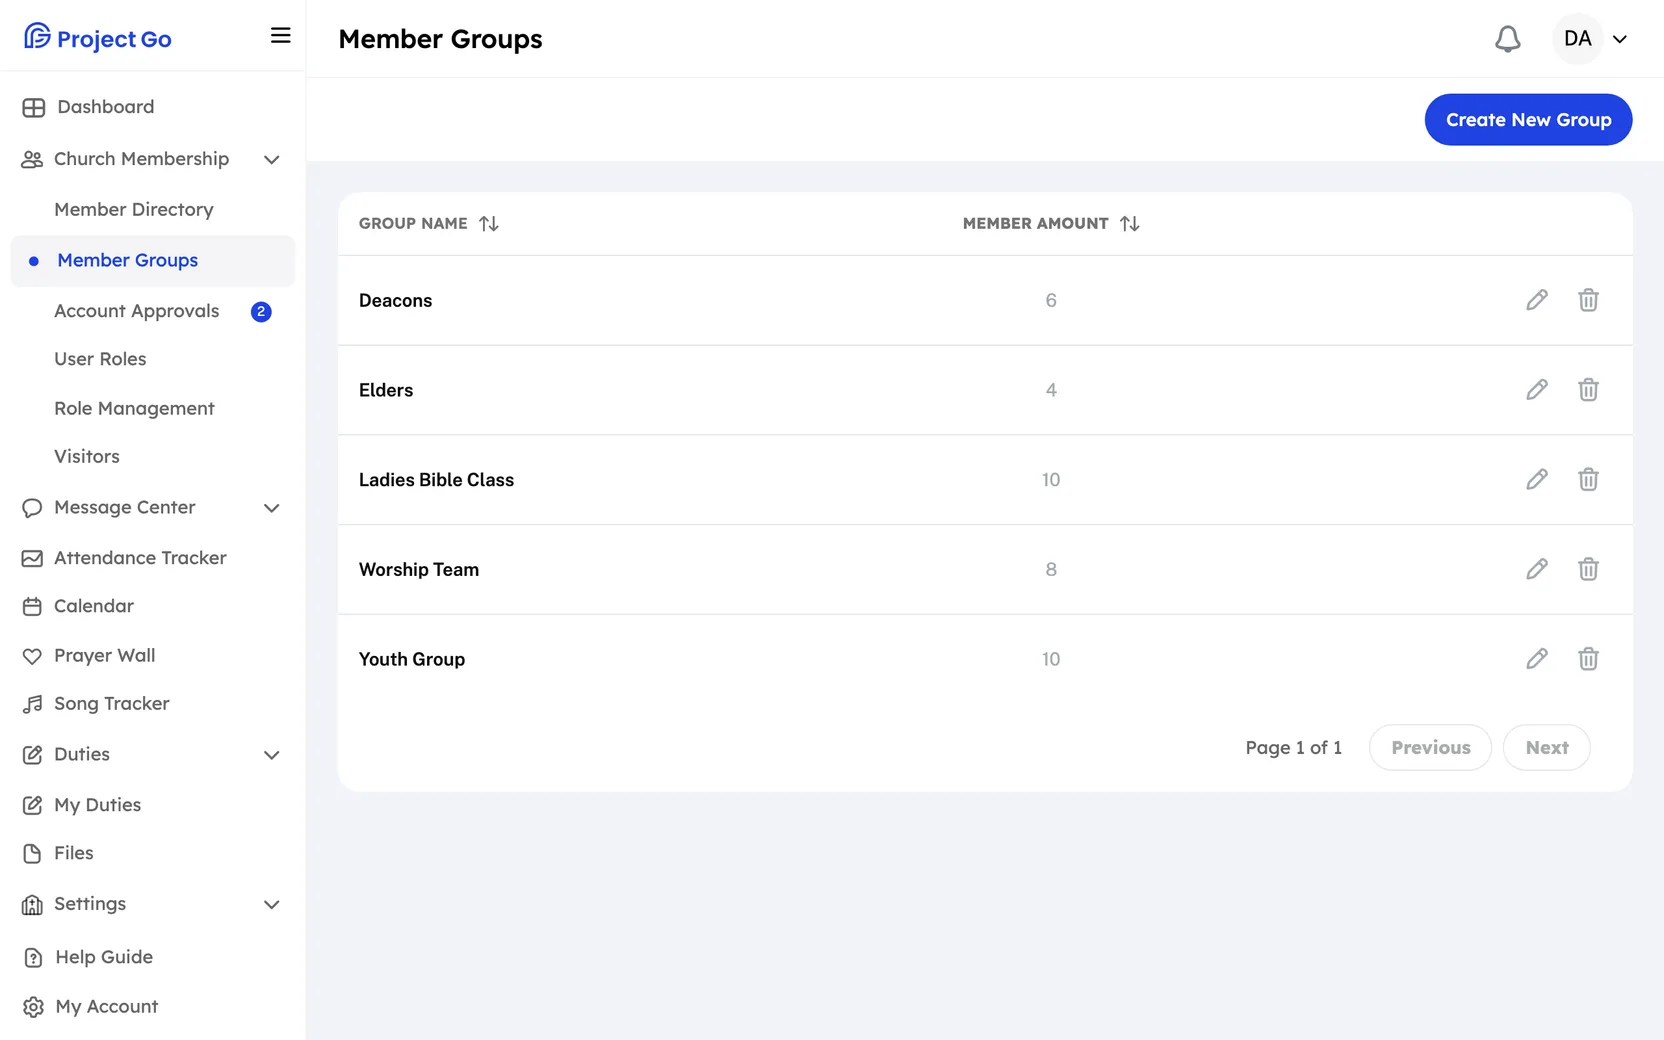
See who is in a group
- Click the group's row in the list.
- Read the list of members.
- Click Done.
The list shows each group's name and how many members it has. Click a column heading to sort.
Create a group
- In the top right, click Create New Group.
- In Group name:, type the name.
- In Badge Color, choose a color, or leave it as it is.
- In Search member name..., type a name to find a member.
- Check the box next to each member you want in the group.
- To make a member a leader, click the star in the Leader column on their row.
- Click Submit.
As you check members, they appear in the Selected Members box. Click the X next to a name there to take that member out again.
Change a group
- On the right of the group's row, click the pencil icon.
- Change the name, the badge color, the checked members, or the leaders. Current members are at the top of the table.
- Click Submit.
Choose group leaders
- Open the group with the pencil icon.
- Make sure the member's box is checked.
- Click the star in the Leader column on their row. Click it again to remove the leader mark.
- Click Submit.
A group can have more than one leader. In the Selected Members box, a crown marks each leader, and leaders are listed first. Leaders can always send messages to their group.
Choose who can send messages to a group
You set this after the group is created.
- On the right of the group's row, click the pencil icon.
- Under Who can send messages to this group:, choose an option.
- If you chose Leaders and chosen members, click the envelope in the Can send column for each member who may send.
- Click Submit.
| Option | Who can send |
|---|---|
| Leaders only | The group's leaders |
| Leaders and chosen members | The leaders, plus the members you mark with the envelope |
| All members of this group | Everyone in the group |
The form also says: church admins can always send, and members can send email only, and only to this group. To send a message, see Message Center.
Pick a badge color
The badge color is the color of the group's tag on member profiles. The choices are None, Blue, Grey, Yellow, Green and Red. Set it in Badge Color when you create or change a group.
Add or remove one member from a profile
You can also change a person's groups from their profile. See "Add a member to a group or remove them" in Member Directory.
Delete a group
- On the right of the group's row, click the trash icon.
- In the Remove Member Group window, click Yes, delete.
Note: You cannot undo this. The group is removed from the Member Groups list.
On a phone
In the bottom bar, click More, then Church Membership, then Member Groups. The Selected Members box is below the form, not beside it.
If something goes wrong
- Name is required: type a group name.
- The star or envelope on a row does nothing: check the member's box first. The envelope is also off for leaders, because leaders can always send.