Role Management
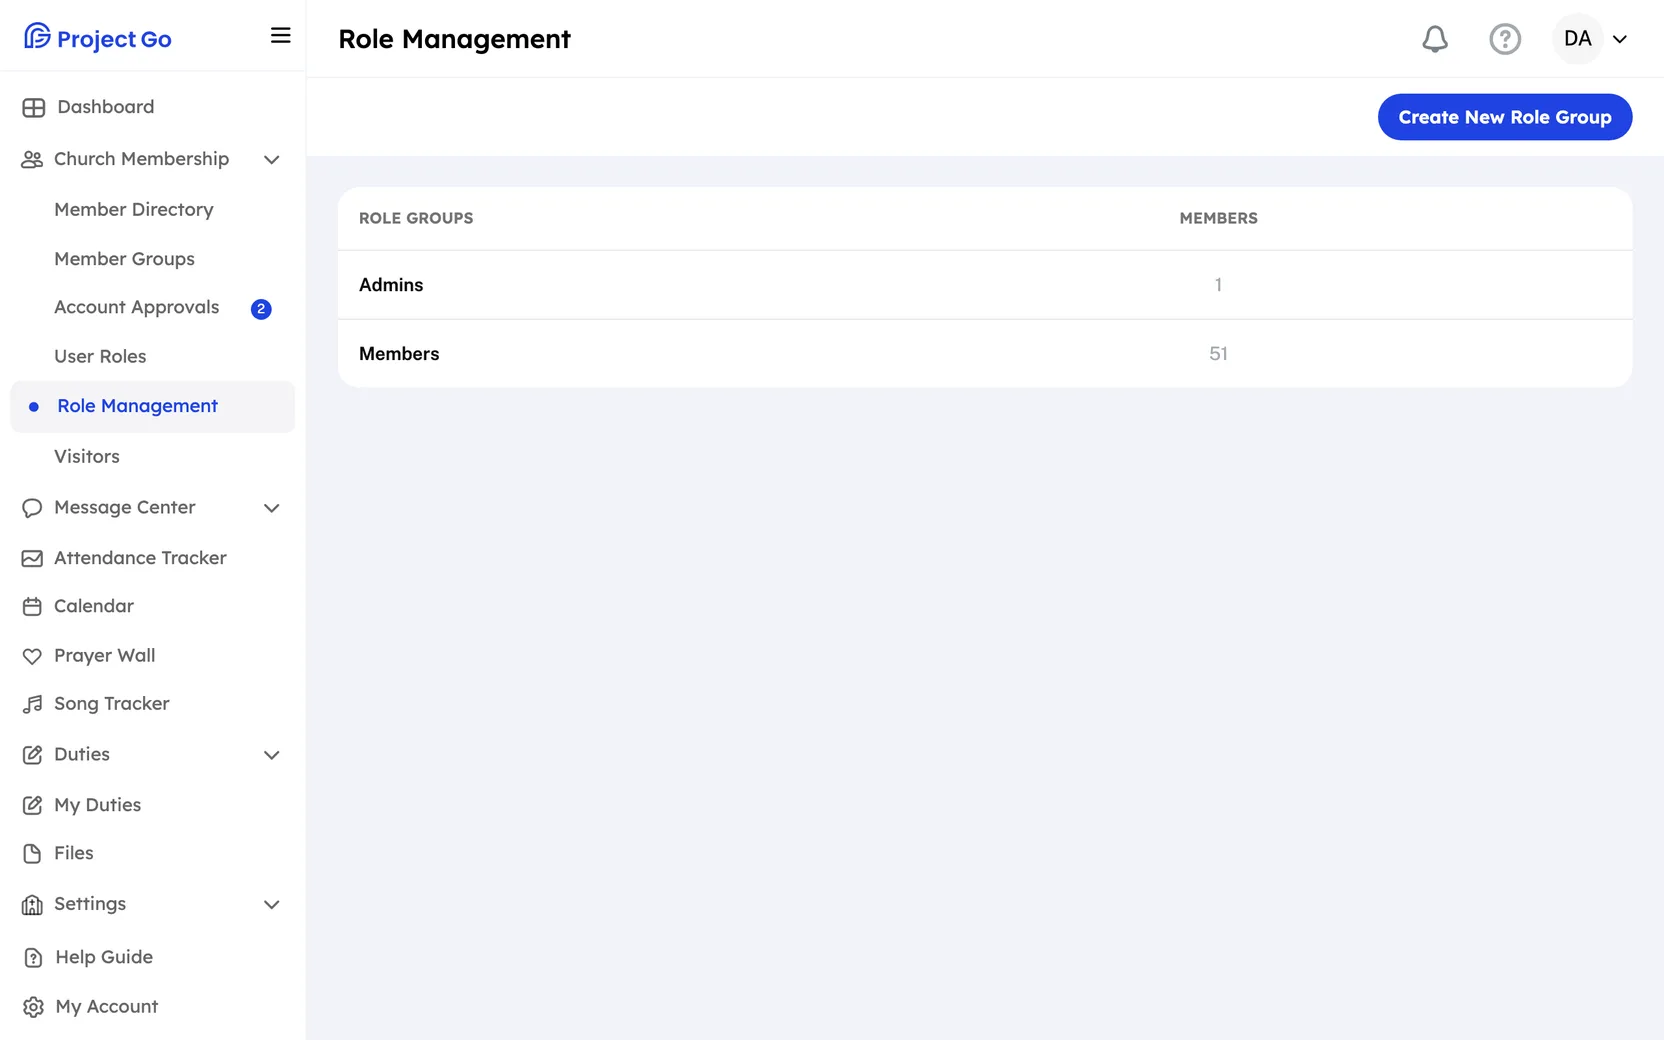
A role is a set of access levels, one for each screen in Project Go Hub. Role Management is where you see your church's roles and create your own. To give a role to a person, use User Roles.
Where: In the menu, click Church Membership, then Role Management.
Who can use this: You need View or Edit access to Role Management to open this screen. To create, change or delete roles, you also need Edit access to User Roles.
Understand the access levels
| Level | What it means |
|---|---|
| View | The person can open the screen and read it. |
| Edit | The person can open the screen and make changes. |
| No Access | The screen does not show in the person's menu. |
If a feature is turned off for your whole church, its screen stays hidden for every role.
See the roles and who has them
- Look at the list. Role Groups is the role name. Members is how many people have it.
- Click a row to see the names of the people with that role.
- Click Done.
The list includes two built-in roles, Admins and Members. They have no pencil or trash icon. You cannot change or delete them on this screen.
Create a role
- In the top right, click Create New Role Group.
- In Role Name, type a name.
- For each row under Screen, click the value under Access Type.
- Click View, Edit or No Access.
- At the bottom, click Create.
You see New role created! and the role appears in the list. Now give it to people in User Roles.
- A new role starts with Edit on most screens. Go down the whole list and lower each one you do not want.
- Cancel on this form puts the form back to how it started. To leave without saving, click the X at the top right.
Screens and the levels each one allows
Some screens do not offer all three levels. The form shows only the levels in this table.
| Screen | Levels you can choose |
|---|---|
| Member Directory | View, Edit, No Access |
| Member Groups | View, Edit, No Access |
| Account Approvals | Edit, No Access |
| User Roles | Edit, No Access |
| Role Management | View, Edit, No Access |
| Message Manager | View, Edit, No Access |
| Inbox | Edit, No Access |
| Mailing Lists | View, Edit, No Access |
| Attendance Tracker | View, Edit, No Access |
| Calendar | View, Edit, No Access |
| Duty Manager | Edit, No Access |
| Member Permissions | Edit, No Access |
| Duty Assignments | Edit, No Access |
| My Duties | Edit, No Access |
| My Account | Edit, No Access |
| Customization | View, Edit, No Access |
| Automated Messages | View, Edit, No Access |
| Files | View, No Access |
| Website Manager | View, No Access |
| Push Notifications | View, Edit, No Access |
| Prayer Wall | View, Edit, No Access |
Note: The form lists these 21 screens. A screen that is not in the form cannot be set here.
Change a role
- On the right of the role's row, click the pencil icon.
- Change the Role Name or any Access Type.
- At the bottom, click Save.
You see Role updated! The change applies to everyone who has that role.
Delete a role
- On the right of the role's row, click the trash icon.
- In the Delete Role Group window, click Yes, delete.
Note: You cannot undo this. Before you delete a role, click its row to see who has it, and give those people another role in User Roles.
On a phone
In the bottom bar, click More, then Church Membership, then Role Management. The steps are the same.
If something goes wrong
- This field is required: type a Role Name.
- New role not created! or Role not update! with "A role with the same privileges already exists": another role already has exactly these access levels. The message names it. Use that role, or change at least one level.
- Error deleting role! The role was not deleted. The message under it gives the reason.