Customization
Customization holds your church's settings in Project Go Hub: the address, logo, banner, email details, time zone, and online giving setup.
Where: In the menu, click Settings, then Customization.
Who can use this: You need View or Edit access to Customization, set in Role Management. With View access you can read the settings but not change them.
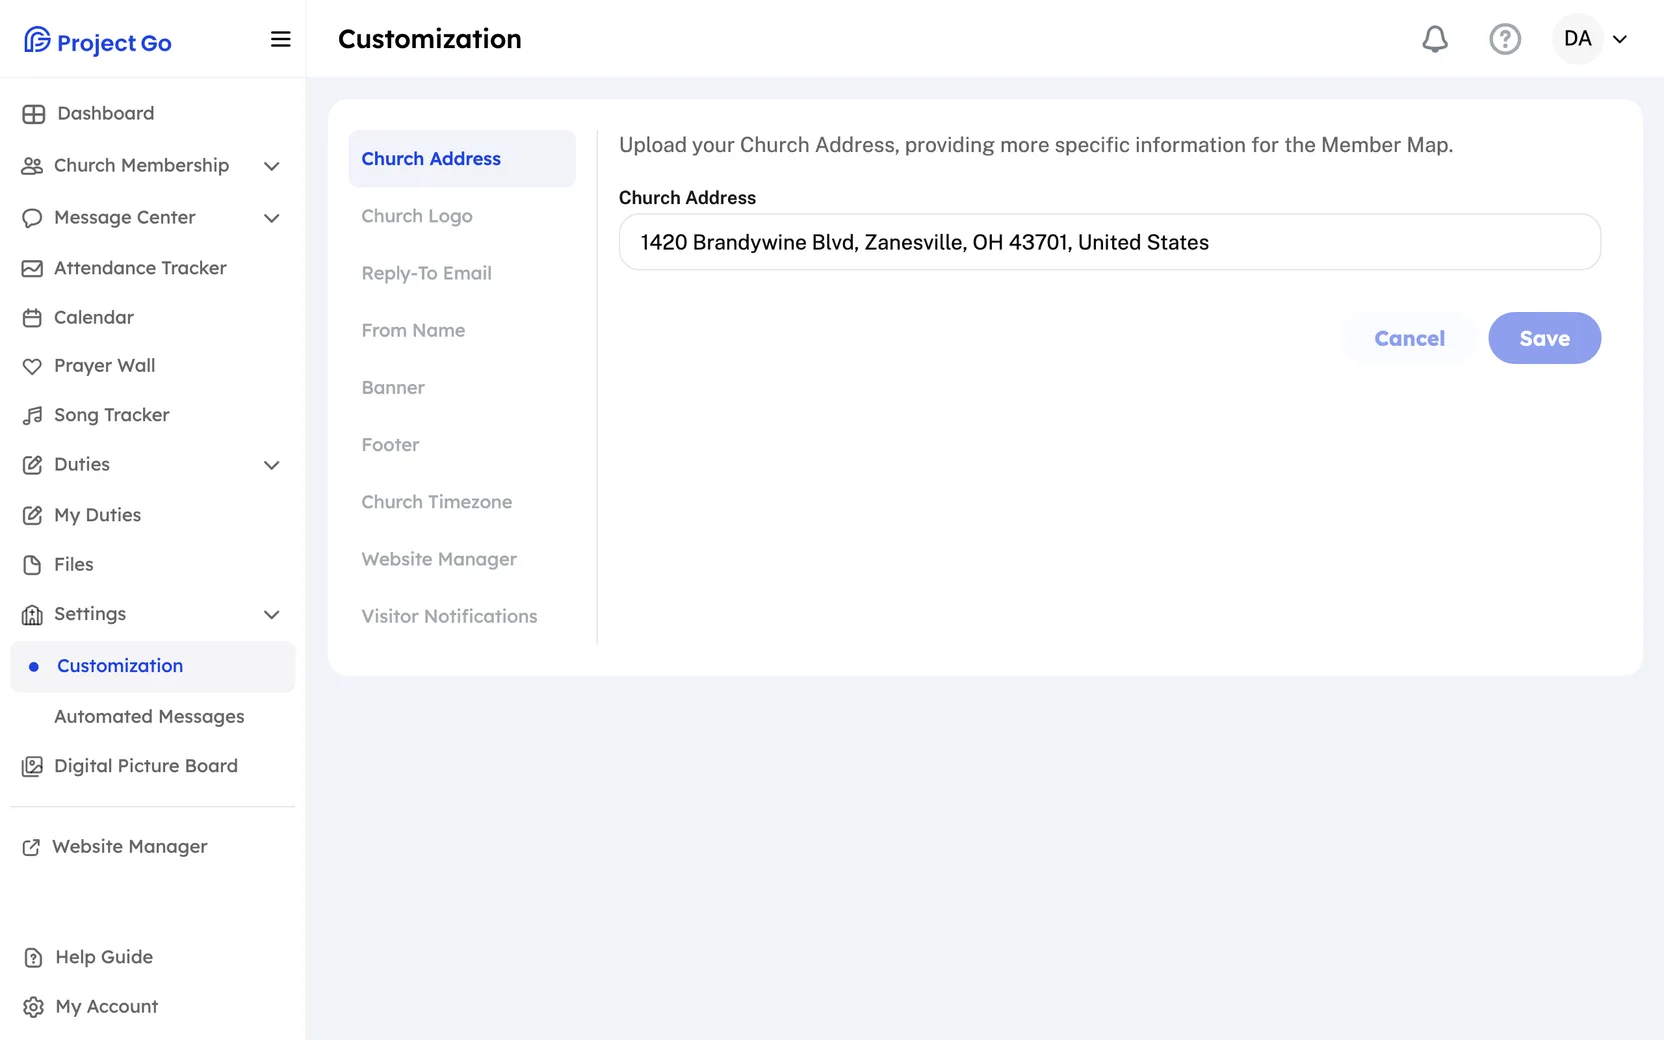
Find a setting
The left side of the screen lists the sections. Click a section to open it.
| Section | What it sets |
|---|---|
| Church Address | The church's location for the Member Map |
| Church Logo | The logo at the top of the menu |
| Reply-To Email | The address replies go to for messages sent from the app |
| From Name | The sender name on emails sent from the app |
| Banner | The picture at the top of the Dashboard |
| Footer | The text at the bottom of emails sent from the app |
| Church Timezone | The time zone for dates in email and text notifications |
| Website Manager | Where the Website Manager menu link goes |
| Stripe Connection | The Stripe account that receives online donations |
| Online Giving Settings | Which days members can give online |
| Visitor Notifications | Which group hears about new visitors |
Note: Stripe Connection and Online Giving Settings show only if Online Giving is turned on for your church.
If you change a section and click another one before you save, you see Are you sure you want to cancel? Click No, Go Back to keep working, or Yes, Leave to drop your changes.
Set the church address
- Click Church Address.
- In the Church Address field, start typing the address.
- Click the matching address in the list that appears.
- Click Save.
You must pick the address from the list. If you only type it, you see Start typing your address and select an option from the dropdown.
Add or change the church logo
- Click Church Logo.
- If a logo is already there, click Update.
- Drag your logo file into the box, or click browse computer and choose the file.
- Check the picture under Image preview:.
- Click Save.
- The file must be a PNG.
- The file must be smaller than 2MB.
- The logo shows at the top of the menu on a computer. Without a logo, the Project Go logo shows there.
To remove the logo, click the trash icon next to it, then click Yes, delete.
Add or change the banner
- Click Banner.
- If a banner is already there, click Update.
- Drag your banner file into the box, or click browse computer and choose the file.
- Click Save.
- Use a PNG file.
- Suggested size: 1500px wide by 375px high.
- File size: 2MB max.
- The banner shows at the top of the Dashboard for everyone.
To remove the banner, click the trash icon next to it, then click Yes, delete.
Set the Reply-To email
- Click Reply-To Email.
- In the Reply-To Email field, type the email address.
- Click Save.
This address is used as the Reply-To for all messages sent through the app.
Set the From name
- Click From Name.
- In the From Name field, type the name people should see as the sender.
- Click Save.
Leave the field blank to use your congregation's official name.
Write the email footer
- Click Footer.
- In the Footer box, type the text. For example, the church name and the address of the building.
- Click Save.
The footer can be up to 255 characters.
Set the church time zone
- Click Church Timezone.
- Click the Church Timezone field.
- Type to search, then click your time zone.
- Click Save.
Change the Website Manager link
- Click Website Manager.
- In Website Manager URL, type the full web address, starting with https://.
- Click Save.
The Website Manager link in the menu now opens this address in a new tab.
Connect Stripe for online giving
- Log in to your church's Stripe account in your browser.
- In Customization, click Stripe Connection.
- Click Connect Stripe.
- Follow the steps on the Stripe page.
Stripe sends you back to this section. When the account is connected, the section says so and shows a Disconnect Stripe Account button.
Note: To use a different Stripe account, click Disconnect Stripe Account first, then connect again. While no account is connected, your church cannot receive online donations.
Choose when members can give online
- Click Online Giving Settings.
- Turn Online Giving Available All Week on or off.
- Click Save Changes.
When the switch is on, Online Giving is available every day. When it is off, it is available only on Sundays.
Choose who is told about new visitors
- Click Visitor Notifications.
- Under Notification Group, choose a member group. Choose None to turn this off.
- Click Save.
When a visitor registers with the QR code, every member of that group gets an email and a push notification. To set up the group, see Member Groups.
On a phone
- In the bottom bar, click More, then Settings, then Customization.
- The sections are in a dropdown at the top of the screen, not in a list on the left.
- The church logo does not show in the phone layout.
If something goes wrong
- File (name) is too large. Your logo must be less than 2MB. Make the picture smaller and try again. The banner shows the same message.
- Unsupported file format: save the picture as a PNG and try again.
- You can only upload one file at a time. Add one file only.
- Please enter a valid email address: check the Reply-To Email.
- Please enter a valid URL: the Website Manager URL must be a full web address.
- Footer cannot exceed 255 characters: shorten the footer.